How to Optimize Your Video Editing Workflow with AI: A Step-by-Step Guide
Ever felt like you’re spending more time editing videos than actually creating them? It’s a common challenge for creators, and one that can stifle creativity.
But with AI video editing tools, you can change the game entirely by optimizing your workflow and focusing on the aspects you love.
I recently spoke with a content creator who cut her editing time from 20 hours a week to just 5. How? By embracing AI tools and automating repetitive tasks.
Imagine automating the tedious parts of editing and redirecting your energy to creativity and storytelling. With the right AI-powered steps, you can do just that.
In this post, I’m breaking down a step-by-step AI-powered workflow that’ll transform your editing process, as well as AI video production tips for editors. You’ll discover:
- How to use AI for efficient footage organization
- Automated cutting techniques
- AI-powered color grading and audio enhancement
- Smart captioning tools
- Final touch-ups with AI assistance
For each step, I’ll recommend specific tools that I’ve tested and trust. Whether you’re a YouTuber, marketer, or business owner, this guide will help you optimize your video editing workflow with AI, and thus save time and boost productivity.
Ready to take your video editing to the next level? Let’s dive in.
Why Automate Your Video Editing Workflow with AI?

If you’re still manually editing every frame, you’re leaving money on the table.
In 2024, AI video editing isn’t just a nice-to-have – it’s essential for staying competitive.
Here’s why:
Save Tons of Time on Repetitive Tasks
AI tools can do in minutes what used to take hours. This means you can make more videos or spend more time coming up with great ideas. Imagine finishing a video in an afternoon instead of a whole week!
Make Your Videos Look More Professional
AI can help make all your videos look great, even if you’re not a pro at color correction or special effects. Your videos will look more professional, which can help you stand out.
Focus on the Fun Stuff
Let’s face it: some parts of editing are boring. AI can handle the dull tasks, so you can focus on the creative parts you actually enjoy.
Reach More People
AI can help you add captions to your videos quickly and even translate them into other languages. This means more people can enjoy your work, no matter where they’re from or what language they speak.
🤖 If you’re new to AI video editing, our guide on AI Video Editing 101: Everything Beginners Need to Know is a great place to start.
Understanding Video Editing Basics
Before we dive into AI, let’s briefly cover the fundamentals of video editing for our newcomers:
- Importing and organizing footage
- Cutting and arranging clips
- Adjusting color and audio
- Adding transitions and effects
- Adding text and graphics
- Adding music and sound effects
- Exporting the final product
Traditionally, each of these steps required significant time and technical skill. Now, AI is simplifying many of these processes.
Traditional vs. AI-Enhanced Workflow

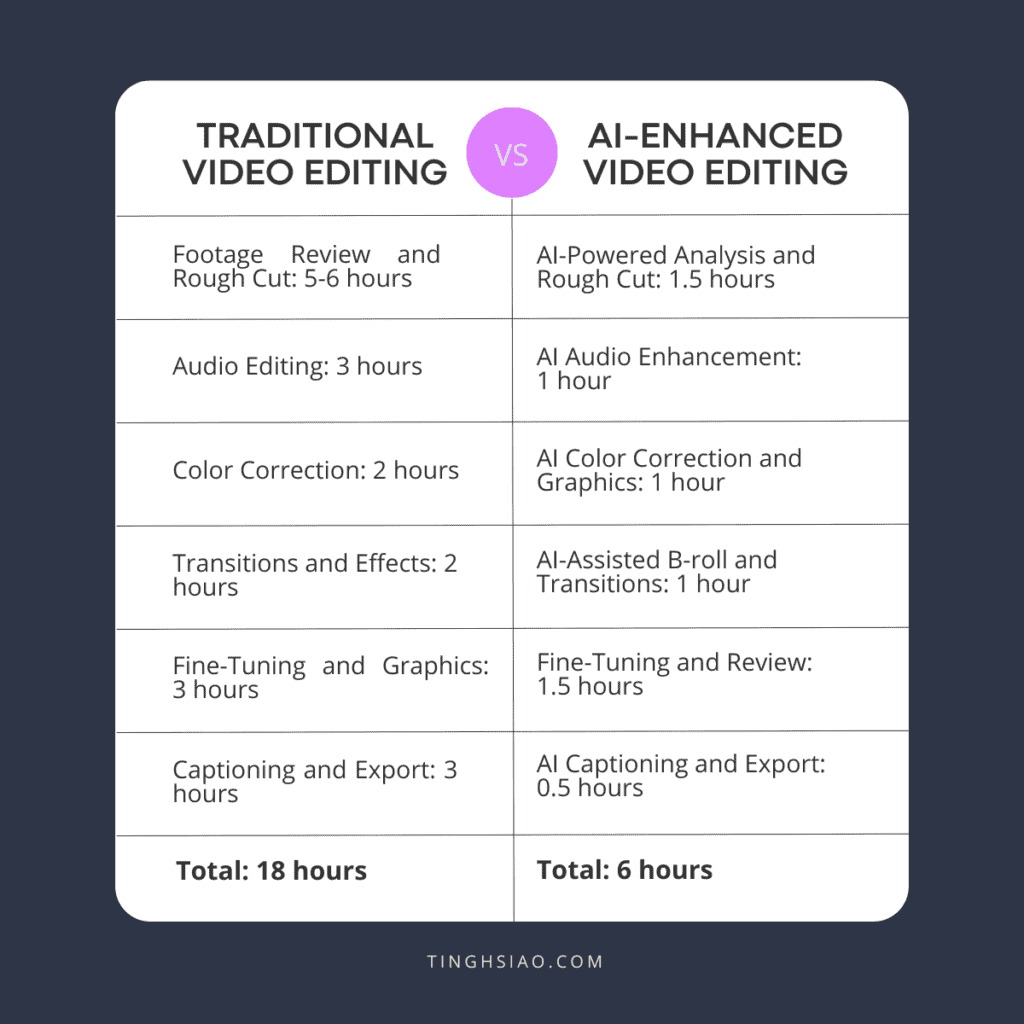
Let’s compare how a typical 1-hour video project might look with and without AI assistance:
Traditional Workflow
- Footage Review and Organization (1 hour) – Watch footage, take notes, organize B-roll
- Manual Rough Cut (4-5 hours) – Trim to ~40 minutes, remove mistakes, insert B-roll
- Audio Editing (3 hours) – Clean audio, adjust levels, add music and sound effects
- Color Correction (2 hours) – Adjust colors, correct lighting issues
- Transition Effects (1 hour) – Add transitions between scenes and B-roll
- Music and SFX Adjustment (1 hour) – Fine-tune music timing, adjust sound effect levels
- Fine-Tuning and Graphics (3 hours) – Refine cuts, add lower thirds and titles
- Final Review (1 hour) – Watch full edit, make final tweaks
- Manual Captioning (2 hours) – Transcribe video, sync captions to audio
- Exporting and Uploading (1 hour) – Render final video, upload to YouTube
Total Time: 17-19 hours
AI-Enhanced Workflow
- AI-Powered Analysis and Rough Cut (1.5 hours) – AI analyzes content, suggests cut with B-roll placement
- AI Audio Enhancement (1 hour) – Noise reduction, audio balancing, auto-ducking
- AI Color Correction and Graphics (1 hour) – Auto color grading, AI-generated title templates
- AI-Assisted B-roll and Transitions (1 hour) – AI suggests B-roll placement, applies transitions
- AI-Assisted Music and SFX (1 hour) – AI suggests fitting music, auto-places sound effects
- Fine-Tuning and Review (1.5 hours) – Adjust AI edit, refine music and SFX placement
- AI Captioning and Export (30 min) – Auto-generate captions, AI-optimized export and upload
Total Time: 6-7 hours

As you can see, AI can potentially cut your editing time by 60-65%!
Step-by-Step Guide to Enhance Your Workflow with AI
Transitioning to an AI-assisted workflow doesn’t mean overhauling your entire process overnight.
Instead, let’s focus on gradually incorporating AI tools, starting with the most time-consuming aspects of your editing process.
This approach allows you to see immediate benefits while managing costs and learning curves.
Step 1: Identify Your Biggest Time Sinks
Before diving into AI tools, take a week to track your editing process. Note which tasks take the most time or cause the most frustration. Common pain points include:
- Initial rough cuts: This is often the most labor-intensive part of editing.
- Audio cleanup and enhancement: Poor audio can significantly detract from video quality.
- Color grading: Achieving consistency across different shots can be challenging.
- Generating captions: Manually adding captions is time-consuming.
Additional Tips: Use a Time Tracking Tool.
Consider using tools like Toggl or Clockify to log your time spent on each task. This can provide clearer insights into where improvements are needed
🤖 For a comprehensive look at the top AI video editors available, check out our article on the Best AI Video Editors for YouTube in 2024.
Step 2: Prioritize and Implement
Once you’ve identified your main challenges, choose one or two areas to enhance with AI. Here’s a suggested order based on potential time savings:
AI-Assisted Rough Cuts
If you spend hours just getting your initial edit together, start here.
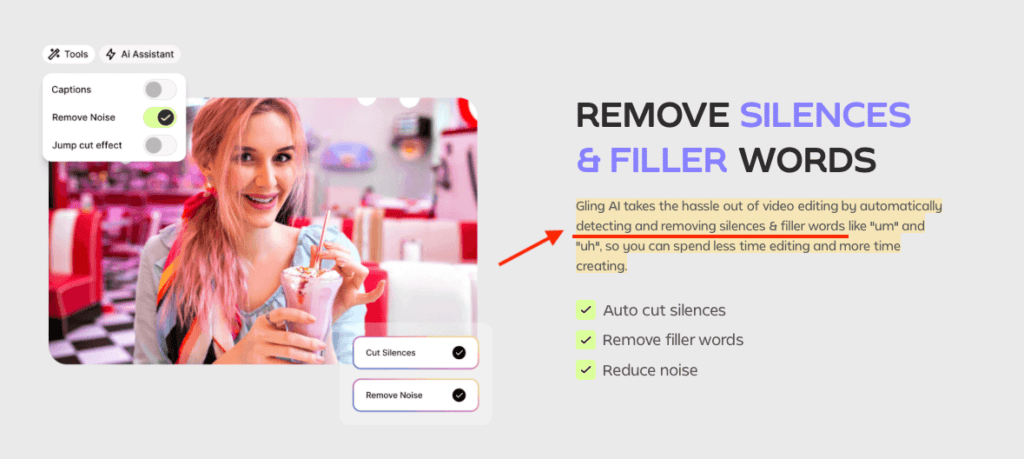
Tool to consider: Gling AI

- Time-saving potential: Can cut rough editing time in half
- Pricing: Gling AI offers a subscription model starting at approximately $15/month for basic features, with higher tiers available for more advanced functionalities.
🤖 Read my full review of Gling AI.
AI Audio Enhancement
Poor audio quality holding you back? This should be your priority.
Tool to consider: Adobe Enhance Speech
- Benefit: Automatically enhances audio quality for clarity and removes background noise.
- Pricing: Free for recordings up to 30 minutes or 500 MB, with a limit of one hour per day. A premium version is available for about $10/month, allowing bulk uploads and more processing time.
AI-Powered Color Grading
Struggling with consistent colors across your footage? AI can help.
Tool to consider: DaVinci Resolve
- Advantage: Professional-looking color in a fraction of the time
- Pricing: The paid version (DaVinci Resolve Studio) costs around $295 as a one-time purchase.
AI Captioning
If you’re producing content that requires captions, this can be a game-changer.
Tool to consider: Descript

Time-saving potential: Simplifies captioning by transcribing audio automatically.
Pricing: Offers a free tier for limited use; paid plans start at about $12/month, which includes more transcription minutes and additional features.
Step 3: Gradual Integration
As you become comfortable with your first AI tool, consider adding another to your workflow. The goal is to enhance your process, not completely replace it.
Step 4: Advanced AI Features
As you grow more confident, explore more advanced capabilities:
AI-generated graphics and titles
Tool: Runway ML
Pricing: Runway ML offers a free tier for basic use, while paid plans start at around $12/month, depending on features used.
AI-assisted music and sound effects
Tool: Soundraw.io
Pricing: Soundraw.io has plans starting at approximately $16/month, allowing unlimited music generation based on user preferences.
Step 5: Repurposing Content
Once you’ve established an efficient workflow, consider how you can repurpose existing content for different platforms or formats. This strategy not only maximizes your content’s reach but also saves time in creation.
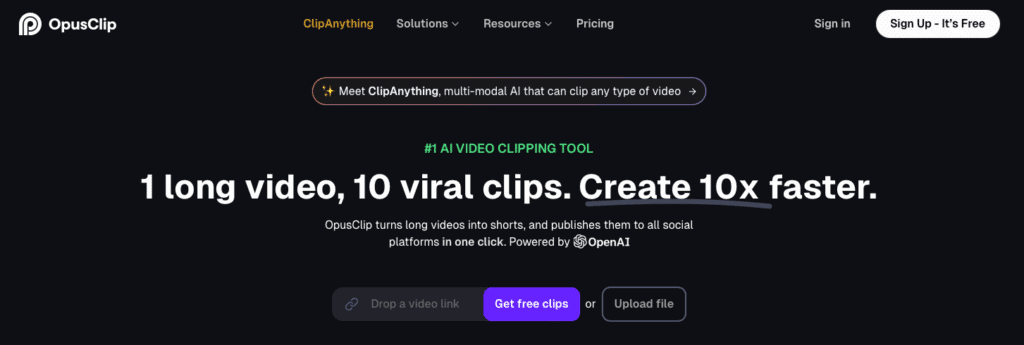
Tool to consider: Opus Clip

- Benefit: Automatically transforms long-form content like webinars or podcasts into engaging short clips, making it easy to share on social media.
- Pricing: Plans start at around $19/month, offering various features based on usage.
Additional Insight: Don’t forget to use tools like Canva or Adobe Spark for creating eye-catching graphics or promotional materials from your video content.
Repurposing can include turning video clips into blog posts, social media snippets, podcasts, or even infographics, allowing your content to work harder for you.
Remember, the key is to start small and build up.
Don’t feel pressured to adopt every AI tool at once. Instead, focus on the areas where AI can make the biggest impact on your specific workflow.
Final Thoughts
After implementing AI tools in my workflow, I’ve noticed a significant boost in productivity. These tools have allowed me to produce more content without sacrificing quality.
If you’re looking to scale your video production, I highly recommend giving AI editing a try. Remember, start small and gradually integrate these tools into your process.


